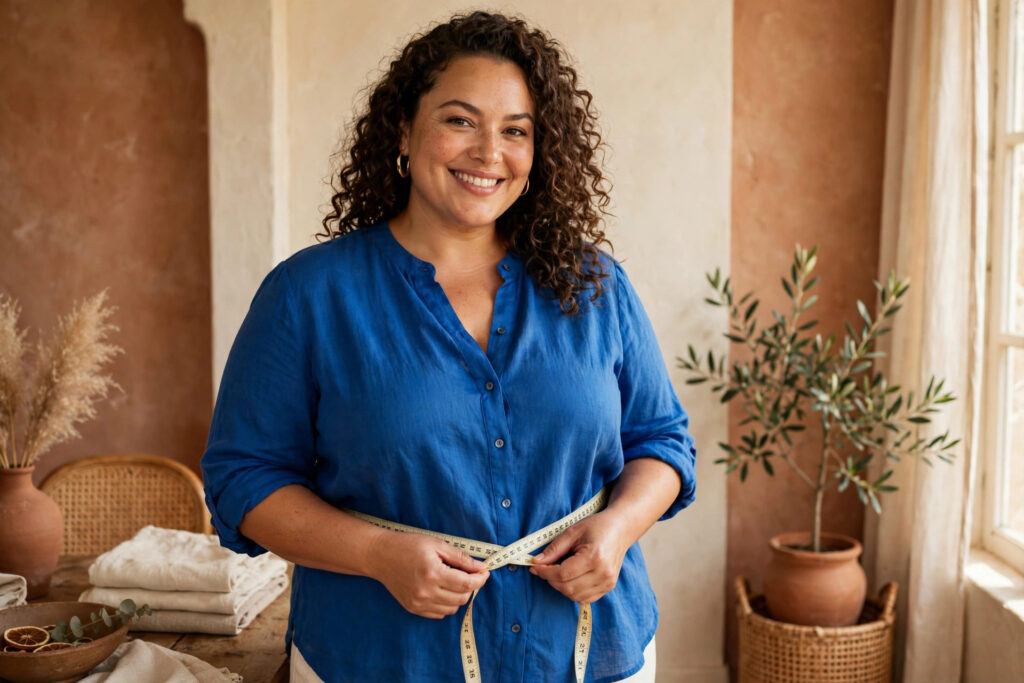
Here’s a truth the fashion industry doesn’t advertise: clothing sizes are made up. A size 16 in one brand is a 14 in another and an 18 in a third, and none of them correspond to anything in nature. Your measurements, on the other hand, are facts. They’re the same in every store, on every website, in every country. Learn your five numbers once, and you’ll never guess at a size chart again.
This guide covers exactly how to take each measurement (where the tape goes, how snug, what to wear), how to read the chaotic world of size charts, and what to do when you’re between sizes. Ten minutes with a tape measure will save you years of returns.
The five numbers that matter
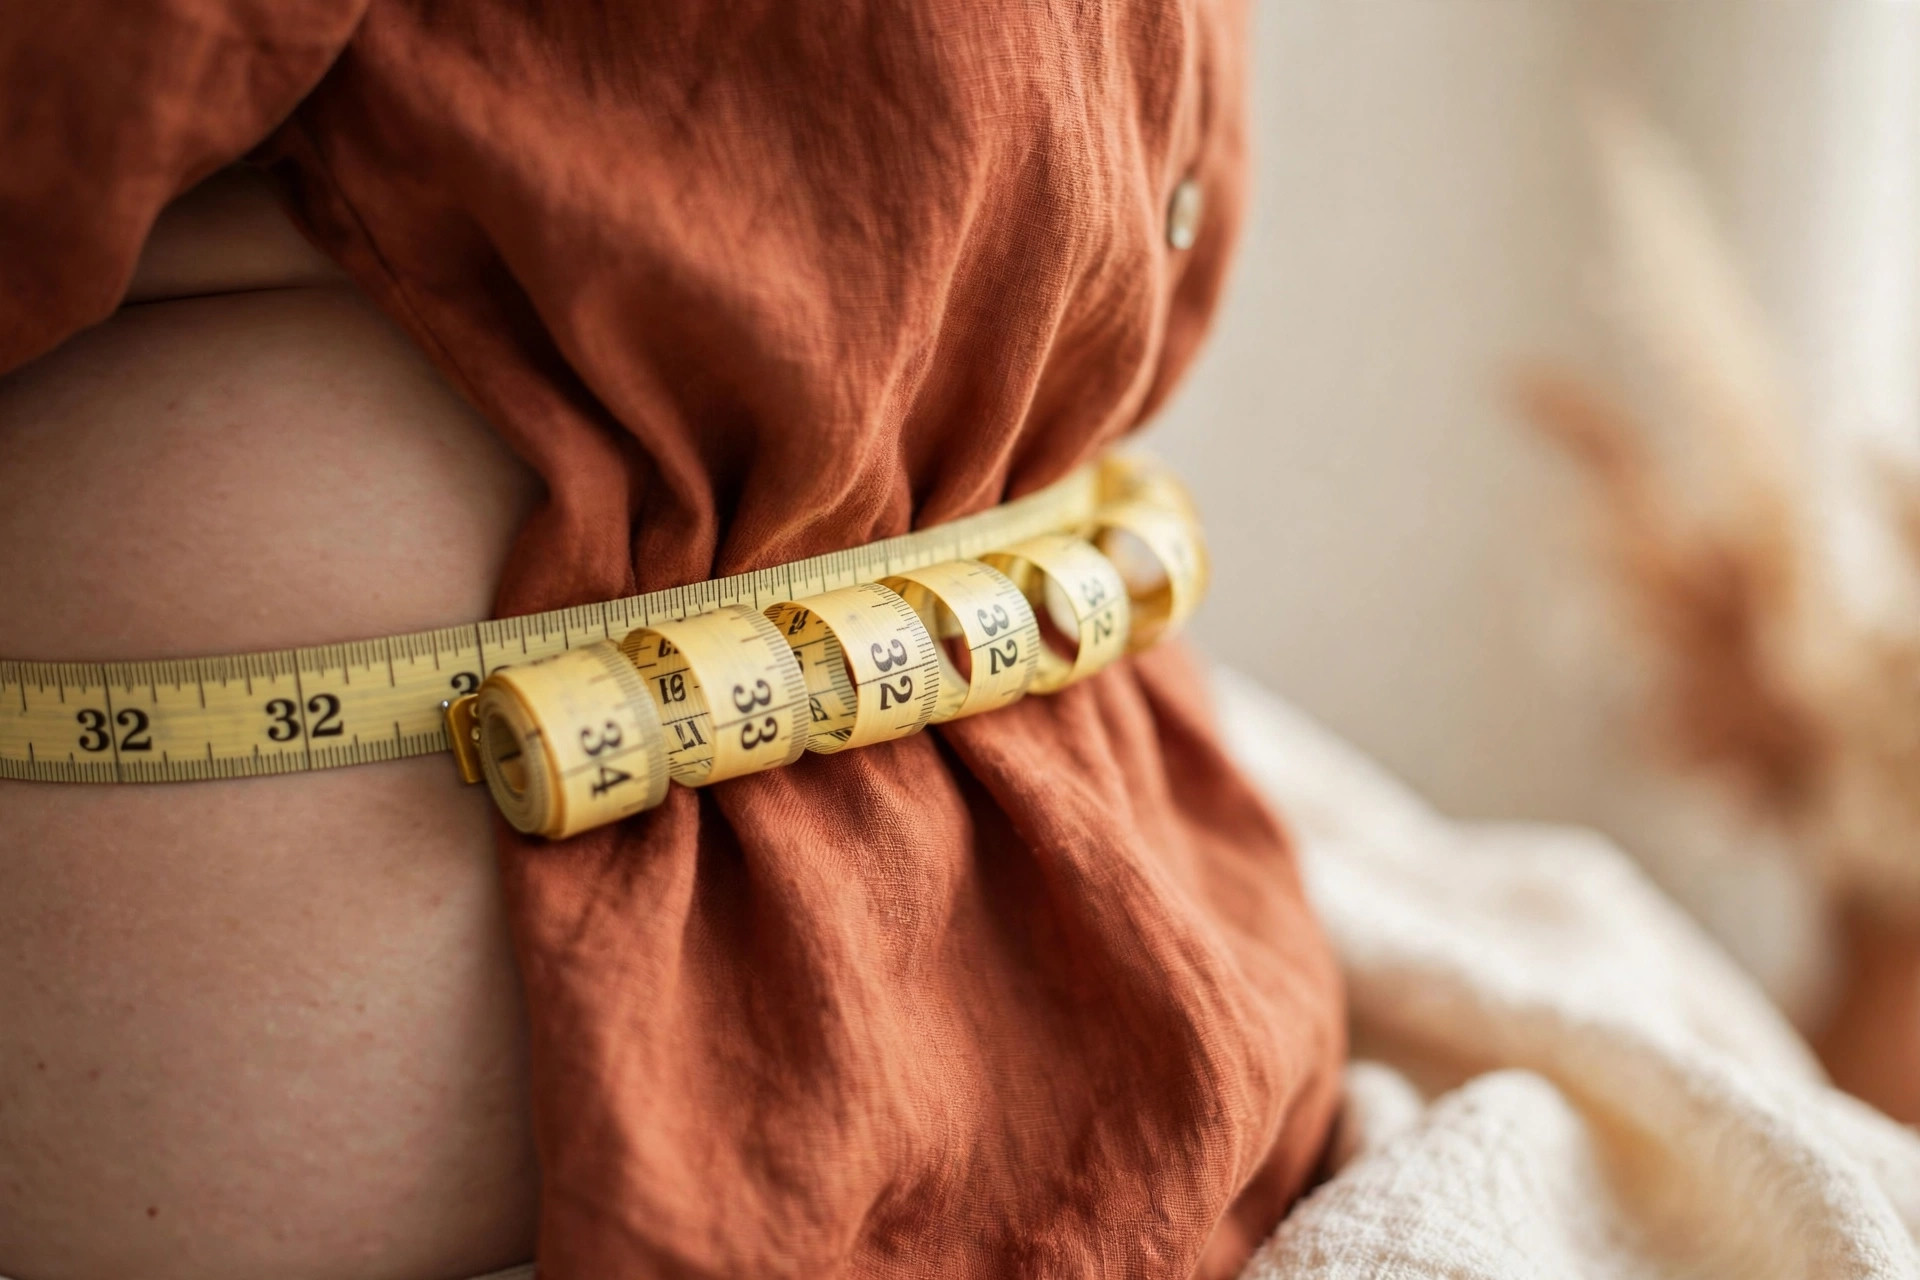
You need a soft measuring tape (not a metal construction one), a mirror, and the undergarments you’d normally wear. Stand relaxed — don’t suck in, don’t push out. Breathe normally. Every measurement gets taken twice; if the two readings differ by more than half an inch, take a third and use the middle value.
1. Bust: the fullest point
Wrap the tape around the fullest part of your bust, keeping it level all the way around your back — this is where the mirror earns its keep, because the tape loves to ride up in back. It should be snug enough not to slip, loose enough that you can breathe comfortably. Write down the number. For most tops and dresses, this is your primary size driver.
2. Waist: your natural waistline
Bend to one side — where your torso creases is your natural waist, usually an inch or two above the belly button. That’s where the tape goes, level all around. Keep one finger between the tape and your body: that’s “snug, not tight.” This number drives fit in anything with a defined waist — wrap dresses, high-rise pants, belts.
3. High hip: the often-skipped one
Measure around your hip bones, roughly 3 to 4 inches below your natural waist. Most size charts don’t list this, but tailors live by it — it’s where fitted skirts and trousers either sit smoothly or pull. If your high hip is close to your waist measurement, you have a straighter torso and should favor styles with waist definition built in.
4. Full hip: the widest point
Feet together, tape around the fullest part of your hips and bottom, level all around. This is the number that decides pants, pencil skirts, and fitted dresses. If there’s a big difference between your waist and full hip (say, 10 inches or more), you’ll often need to size for the hip and tailor the waist — which is completely normal and not a flaw in your body.
5. Inseam: for pants that actually fit
Stand straight in bare feet. Measure from the inner crotch seam point down to the floor — or, easier, measure the inseam of pants you already own that hit exactly where you like. Write down both your preferred dress-pant inseam and your casual inseam; they’re often different by an inch or two depending on the shoes you pair them with.
Reading a size chart like a pro
Now the fun part: translating your numbers into sizes. Always use the brand’s own chart, not a generic one — open it on the product page, because brands quietly update charts and the generic version on a blog post from 2019 won’t match. Find your bust, waist, and hip on the chart separately. They will very likely point to two or even three different sizes. That’s normal.
Here’s the rule: size for your largest relevant measurement, then tailor down. For a dress, that’s usually the bust or hip; for pants, the hip; for a button-down, the bust. Taking in a waist is a $15 alteration. Letting out a too-tight hip is often impossible. Buy the size that fits the biggest part.
Between sizes? Check the fabric. If the garment has stretch (look for elastane, spandex, or words like “stretch” and “jersey”), size down — stretch forgives. If it’s a woven with zero give (linen, structured cotton, denim with no stretch), size up. And check the fit notes: “runs small” in reviews from multiple buyers is data, not opinion. Believe it.
Fit troubleshooting: what the garment is telling you
Clothes communicate. Learn the language and you’ll know whether to size up, size down, or just choose a different cut.
Horizontal pulling across the bust or hips with little X-shaped wrinkles means too small — size up, no debate. Gaping at the neckline or armholes means the top is cut for narrower shoulders than yours; try a different style rather than sizing down, which will only make the bust tighter. A waistband that rolls or flips means it’s sitting at the wrong place on your torso — try the next rise up or down.
Vertical wrinkles under the arms usually mean the bodice is too long for your torso, not too big overall — petite or short-torso cuts solve this. And if a dress fits everywhere but the zipper strains? That’s the garment telling you the truth about its cut. Listen to it and move on; the right dress won’t fight you.
Build your measurement card
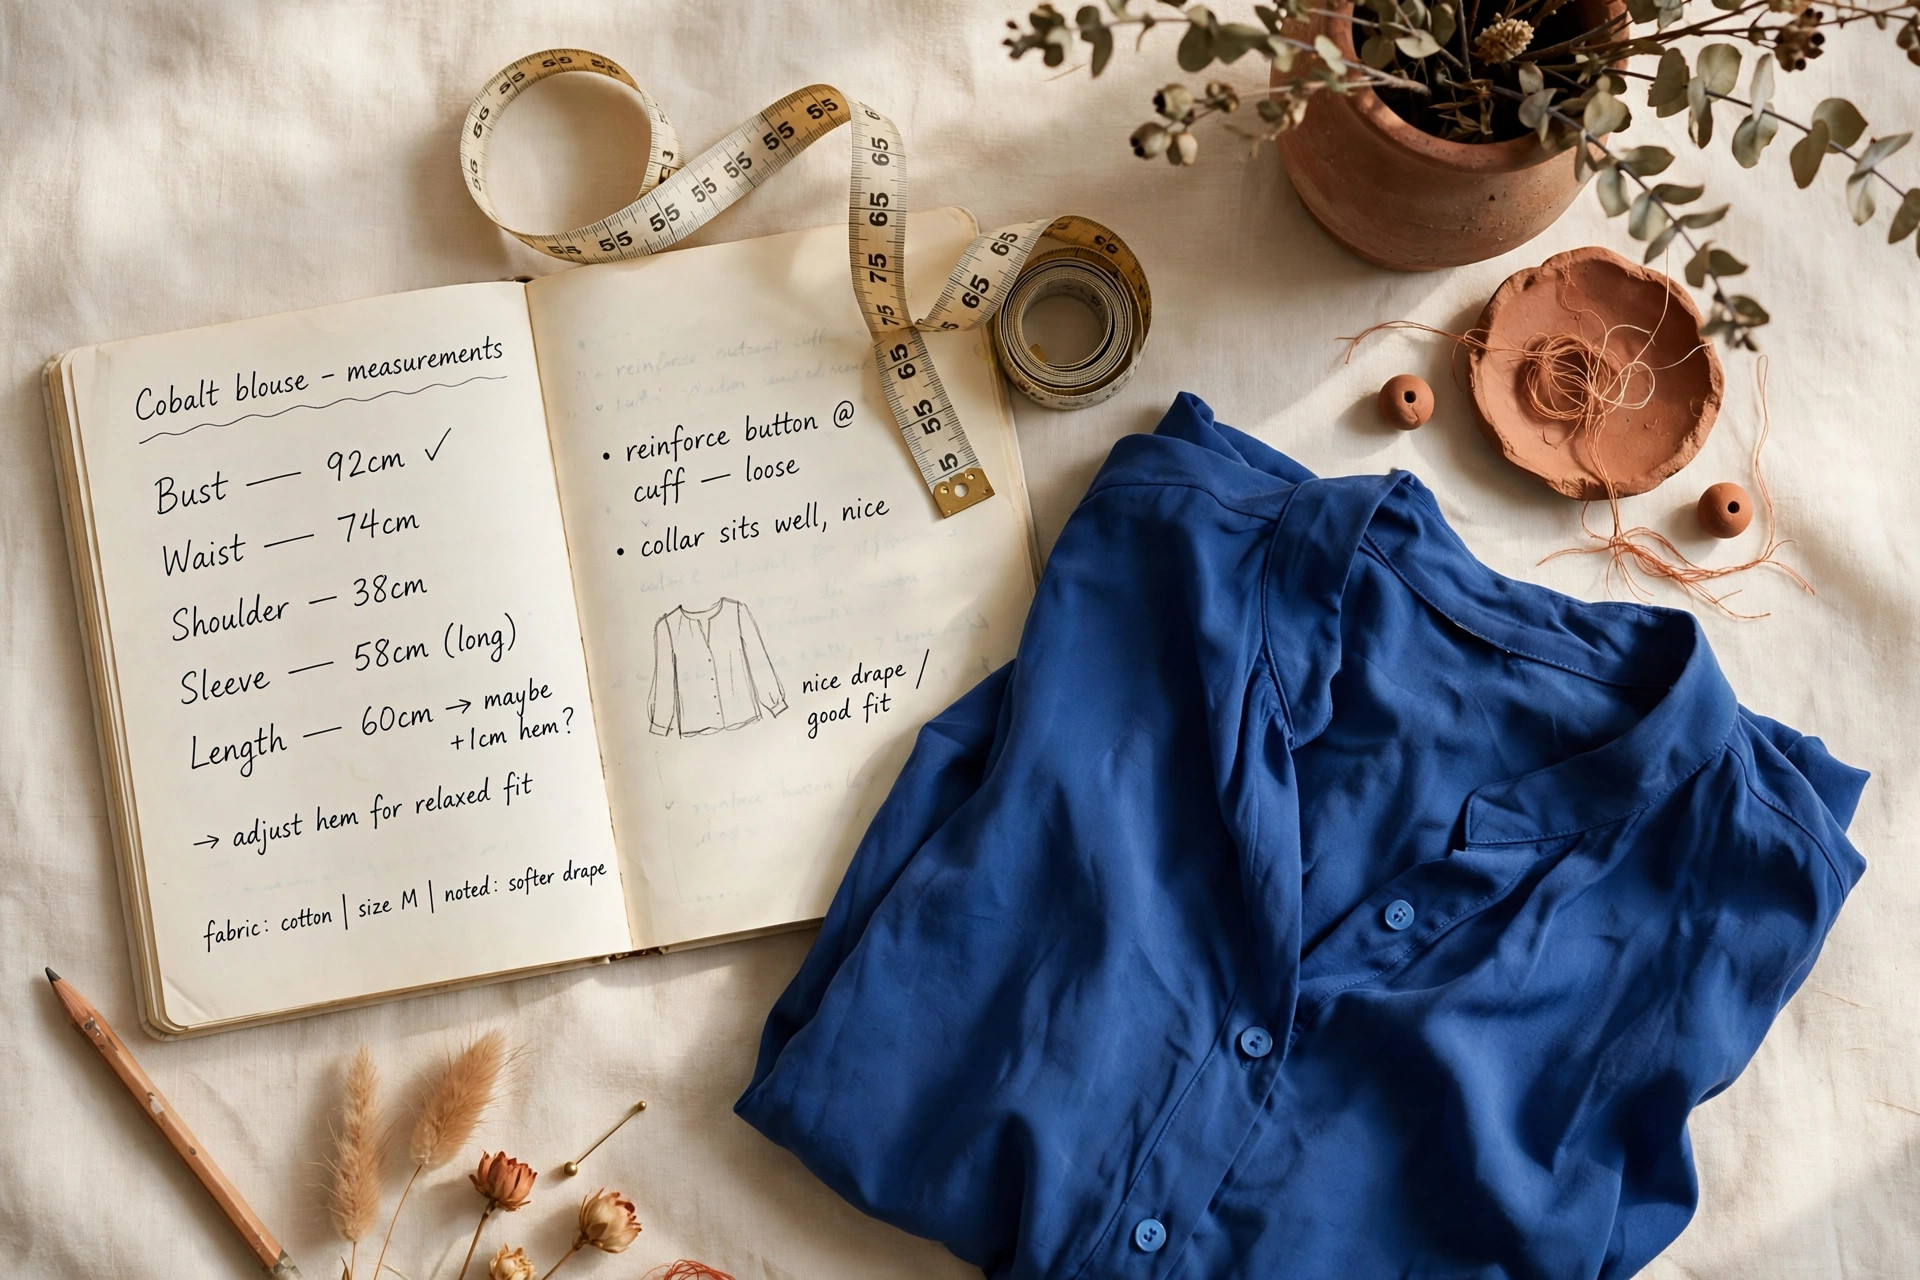
Don’t let these numbers live only in your head. Make a simple card — phone note, index card, whatever you’ll actually keep — with your five measurements, the date, and one extra line: your usual size in your three most-shopped brands. Update the brand lines whenever you nail a fit; over time, this becomes a personal fit database that makes online shopping dramatically less risky.
One more habit that pays off: when a garment fits you perfectly, check its listed measurements (many product pages now include garment measurements, not just body size charts) and save those too. “My perfect midi dress: 44-inch bust, 36-inch waist in the garment” is the kind of note that turns future purchases from gambles into near-certainties. The best-dressed people you know aren’t luckier than you — they’re just keeping better records.
Measuring FAQs
Why do I wear different sizes in different brands?
Because there’s no legal standard for women’s sizing — each brand drafts its patterns to its own fit model and target customer. A brand aimed at juniors cuts differently than one aimed at misses, and plus-specific brands draft for curves from the start rather than grading up from a smaller pattern. Your size is a brand-specific suggestion. Your measurements are the reality.
How often should I re-measure?
Once a year, or whenever your clothes start fitting differently. Bodies change — that’s what they do — and a two-minute re-measure beats a season of frustrating orders. Keep your numbers in your phone’s notes app so they’re with you whenever you shop.
What if the chart doesn’t go up to my measurements?
Then that brand doesn’t make clothes for your body, and that’s information, not rejection. Plenty of brands now extend to 24, 28, and beyond with patterns actually drafted for plus bodies. Spend your money where the size range includes you without apology.
Your tape measure doesn’t judge, doesn’t flatter, and doesn’t lie. It’s the most honest stylist you’ll ever hire — and it works for free.
Once you have your three measurements, a clothing size converter helps you translate them across US, UK and EU size charts — handy when a brand’s chart tops out early or runs small.